This is my interpretation of two telephone conversations with the Australian Goodridge
distributor in May 2000 and also conversations with Goodridge UK.
I spite of what others have said, I firmly believe that this is the way Goodridge designed
them to be fitted.
Goodridge do not give you model specific fitting instructions which I believe is because they want them to be fitted by professionals. Having seen two bikes (not VTRs) fitted by mechanics, I believe that they would benefit from instructions as well
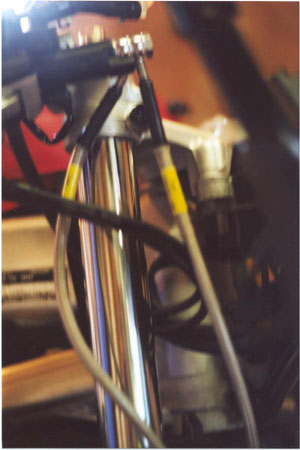
The fitting and manufacturing quality on this set was excellent, however I believe there
is a design problem with the top right fitting. It is angled back at 45 degrees which I
believe is too extreme (should be about 20 degrees?) as it further twists the right line
around the fork causing the line to rub on the lower right triple clamp bolt and has
noticeably less slack than the left line (photos at the bottom). I believe Goodridge are
considering changing this angle
I have since received a right line from Goodridge with a 20 degree top angle and this fits
much better. The photos all show the fitting with 45 degree top angle. I will scan some
new ones when I get time.
There are 2 lines in the kit and 7 crush washers plus a dual banjo bolt
I purchased a kit with stainless steel fittings and banjo bolt
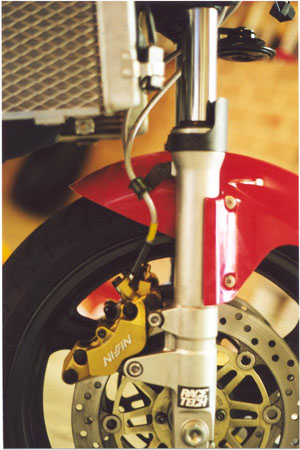
Both lines have a slight angle on the bottom (brake caliper) fitting
The left line is slightly longer and has a straight fitting on the top
The right line is slightly shorter and has a more acute angle (45 degrees) on the top
fitting
See your Honda workshop manual about removing the standard brake lines.
I also removed my fairing to give easier access and reduce any damage from split brake fluid.
I cut off my anti-rotation tab on the master cylinder to allow line adjustment so that I could
rotate the brake lever to the angle I prefer. This tab pushed the standard line back onto the top
triple clamp and pushes slightly more with the greater angled Goodridge fitting.
Remember to tape over the hole and cover the master cylinder and any lines to stop metal filings
getting onto the system.
With the brake caliper end, use the standard banjo bolts with new crush washers
Assuming you have already removed the old lines;
attach the bottom fittings first with the slight angle to the rear (similiar to standard), with a crush washer either side of the fitting and do up finger tight
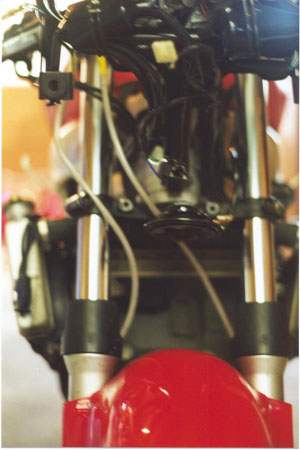
Route the lines to the master cylinder
I routed mine slightly backwards thru the standard line clamps (as per standard) then forward
between the fork legs under the lower triple clamp then up in front of and inside the right fork leg
with both lines under the throttle cables up to the master cylinder.
Put a piece of rubber/plastic tubing (inside diameter about 28 mm) on the horn bracket to stop the
left line from rubbing.
Attach the top fittings in the following order (closest to master cylinder first);
crush washer
right side angled fitting
(angle back towards bar end - as per standard)
crush washer
left side straight fitting
crush washer
then put dual banjo bolt through and finger tight
You should not have to push or twist the lines through odd angles/stresses
Torque down banjo bolts to no more than 24 ft/lb
Bleed the brakes
If you have Speed Bleeders (like I did), replace with standard valves and bleed,
then replace them at the end and bleed the small bubbles out
I used a 500 ml bottle of Motul DOT 4 which is a synthetic brake fluid
I then put the fairing back on, re-adjusted the brake lever and went for a test ride.
The brakes felt wooden, so I did about 30 stops from 30 kmph (20 mph) progressively harder. This seemed to clean off
residual brake fluid/brake cleaner on the discs/pads. I then re-adjusted the brake lever. Braking
is about the same as standard but feel is more direct.